It's no secret that I take a lot of pictures at the ball fields in the summer. I have a blast doing it, because it helps me notice so many fun things about the kids (e.g. which ones stick their tongues out when they make a play), and also because it calms my nerves and helps keep me from yelling too much at the game. I love to share them with the other families, and they are always appreciative, but I've noticed one big drawback: the more photos I post, the fewer others seem to take. I hate that, because I'd really like to see everyone who enjoys taking pictures having as much fun as I do.
The best news is that no matter what kind of camera you have, if it has a decent zoom, you can get some great baseball shots! So, with no further ado...
Helpful Tips for Taking Great Baseball and Softball Photos
Today we'll start with the three most important things: location, location, location! If you go to the ball park night after night, it can begin to feel a little mundane. It doesn't have to be that way! You will have games in different locations with different kinds of backgrounds and lighting and weather. This can make picture taking really interesting. When you get to the field,
1. Check out the possible backgrounds.
For a few years our home field had a water park right behind third base. On hot nights I often wondered if this would be the night a base runner would run right off the field and head for the pool instead of rounding for home. They never did, but it made a cool backdrop from the right side of the outfield shooting toward home.
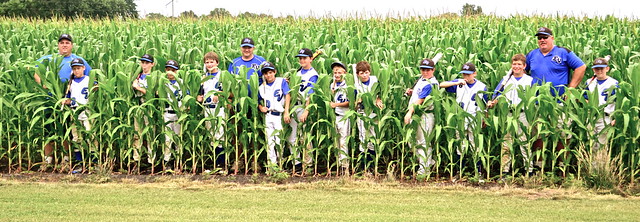
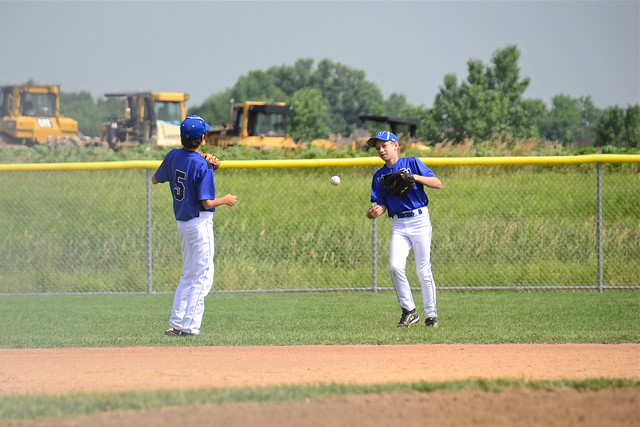
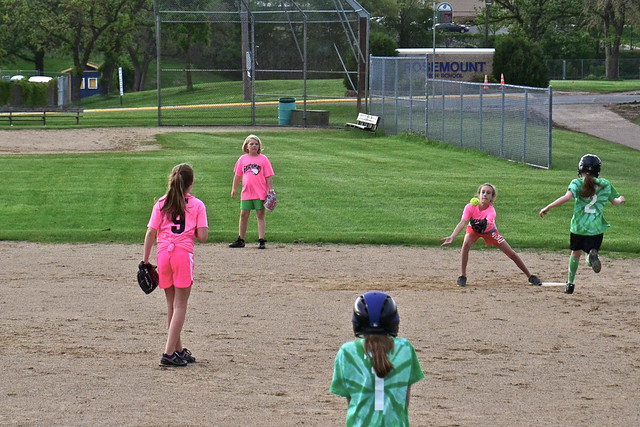
You probably won't have a water park in your photo, but it's quite possible that you will find some unique features at the field. We've played in a few corn fields, and more than one construction zone.
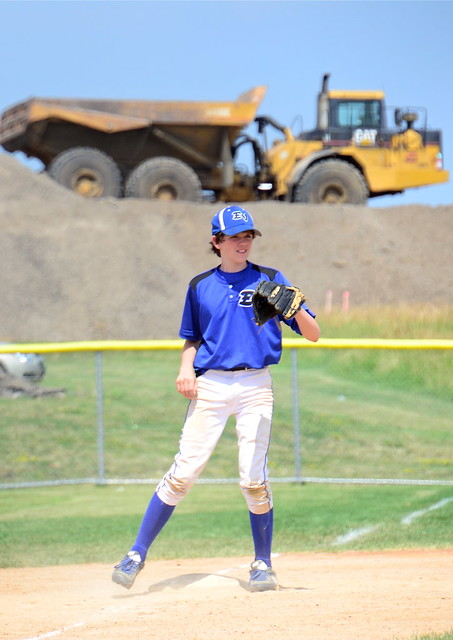
It's fun to capture the character of the different fields, because they tell the story of your season. That said, they can also be a little distracting. I may or may not have missed a few plays while trying to balance this huge dump truck on top of my son's head.
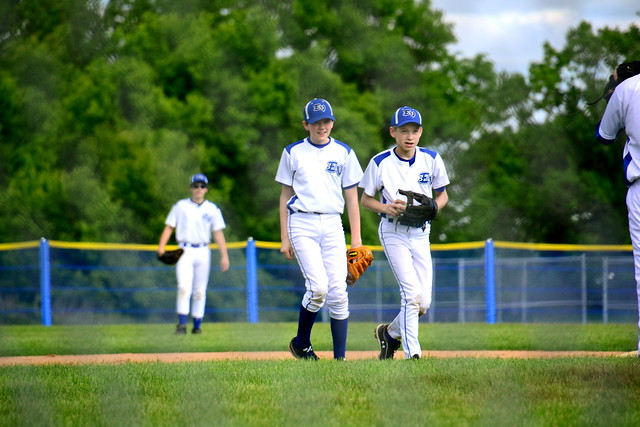
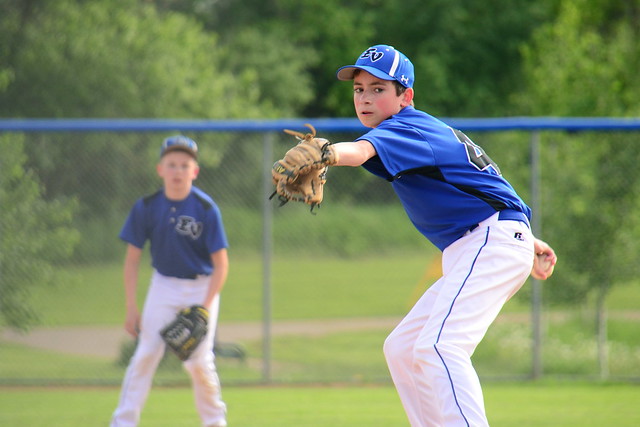
If you really want to focus in on the players and the game--and maybe a photo you would frame--look for the trees you will often find behind the outfield fence, and you will have a great backdrop.
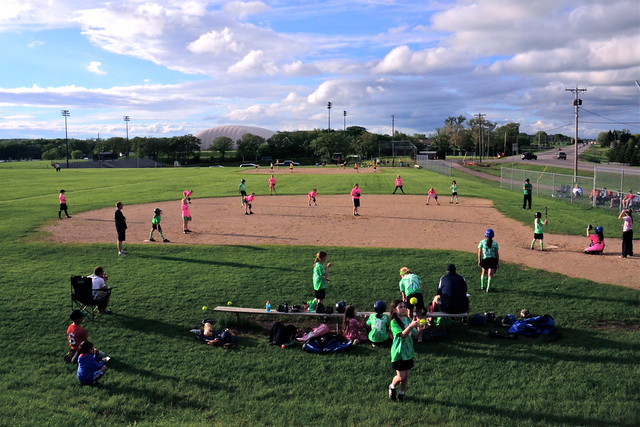
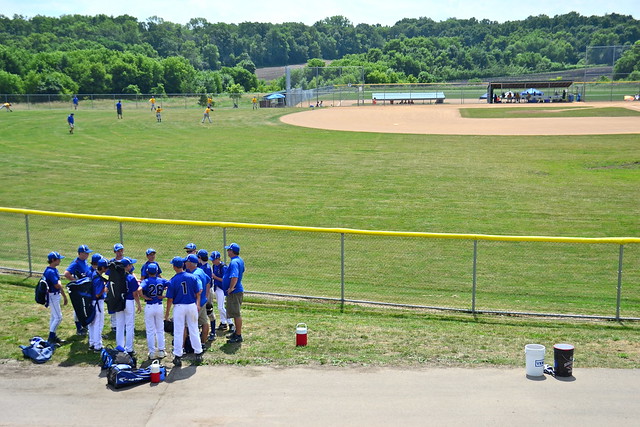
I rarely pass up a chance to sit up on a hill where you can shoot down for a different angle.
You can put yourself in many different positions during the course of a game, especially as your player changes positions. Bring your own chair so that you aren't limited to the view from the bleachers behind home plate. The location of the sun might affect your choice. Taking the time to be intentional can mean the difference between good and great pictures.
2. Pay attention to which side of the field your team's dugout is on.
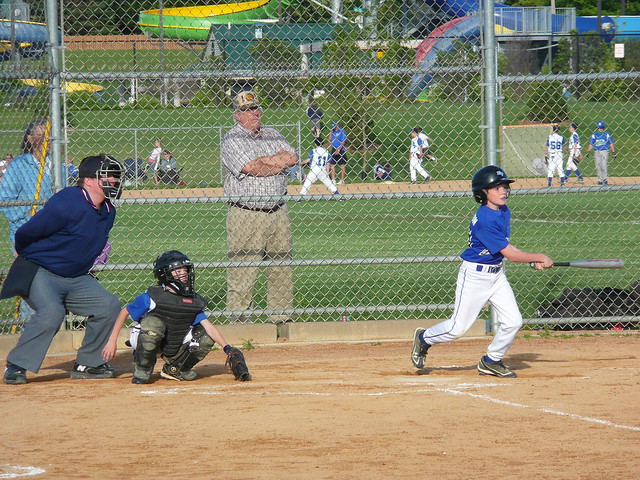
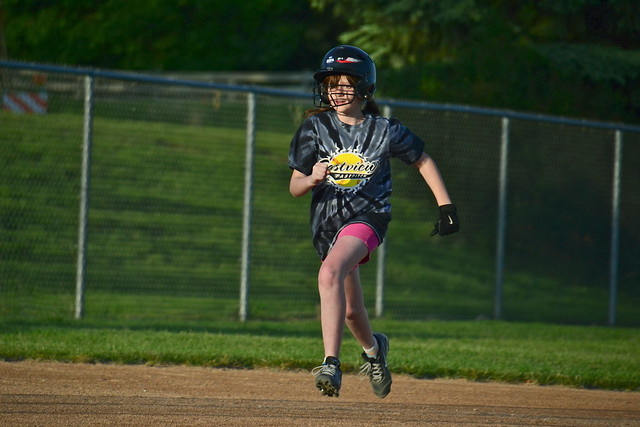
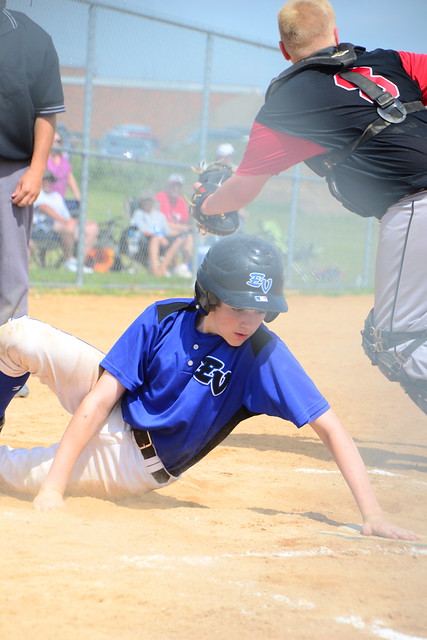
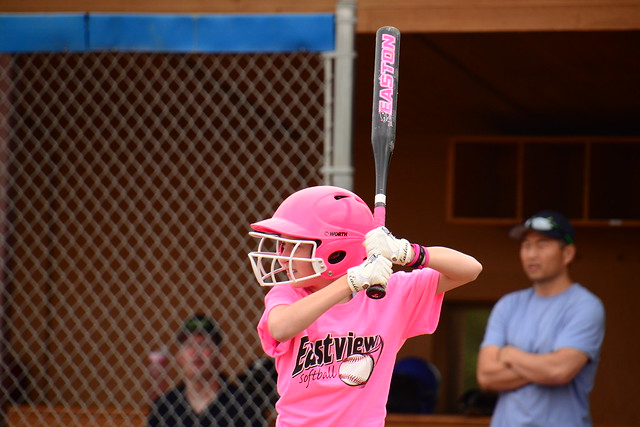
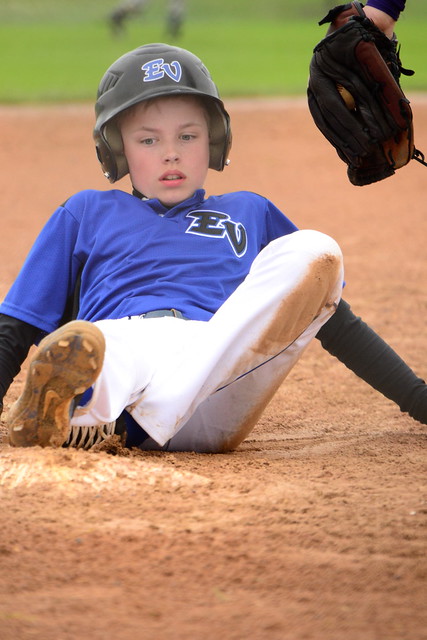
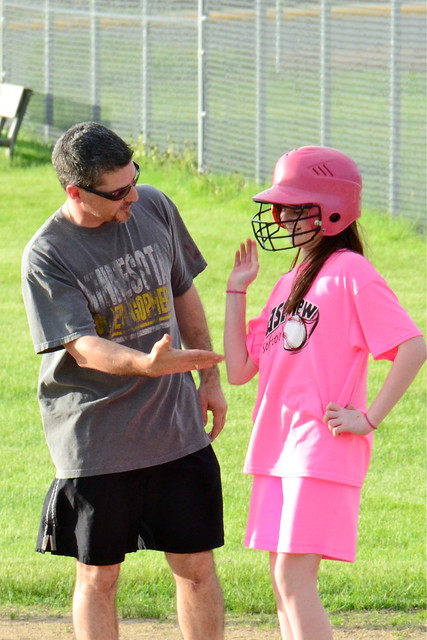
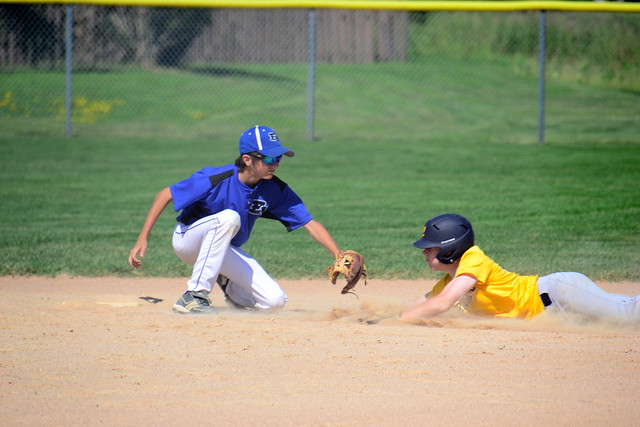
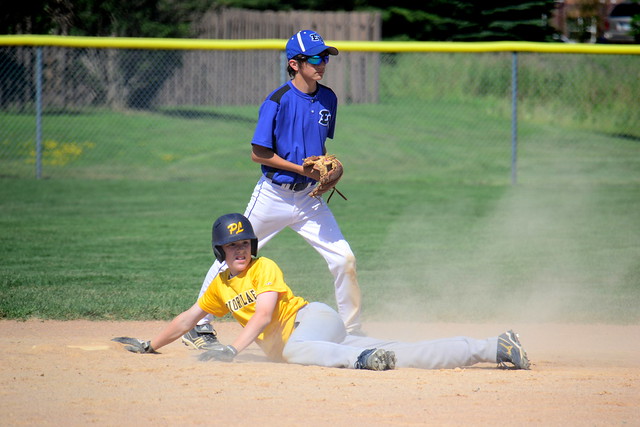
If you are on the first base side, you can sit at the perfect spot to get photos of the right-handed batters, and the base runners strategizing with the third base coach, or crossing the plate. If you get lucky, you might catch a player sliding into home! I really like the angle I get when sitting on the ground to the right of home, or I at least get down as far as I can from my chair.
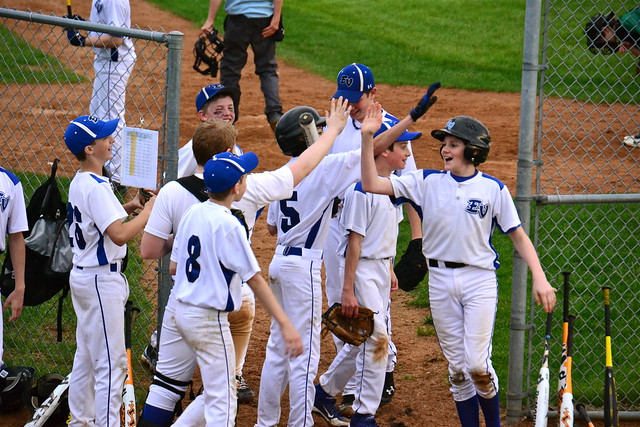
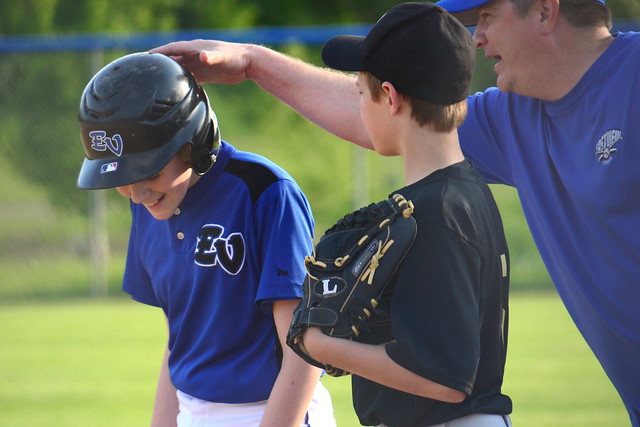
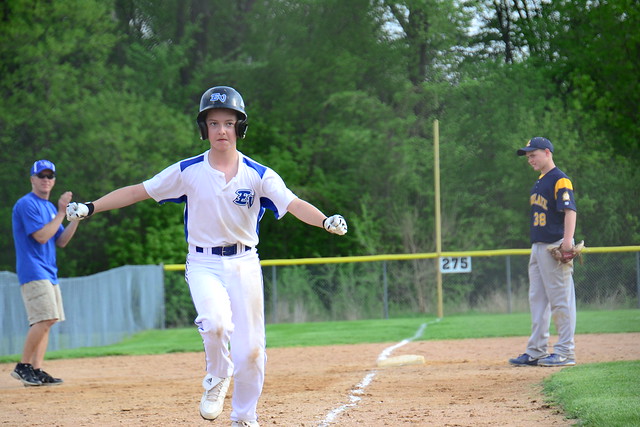
The left side is also the perfect place to see your player celebrating a hit or a walk with the coach at first base. Smiles. Every. Time.
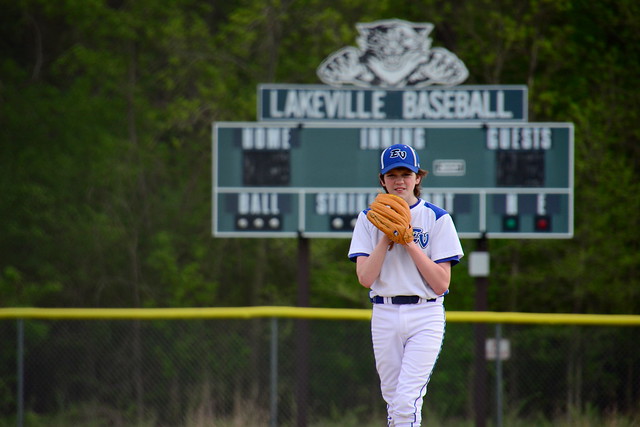
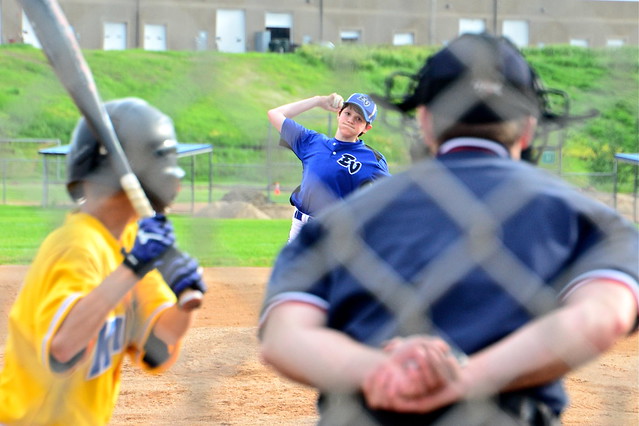
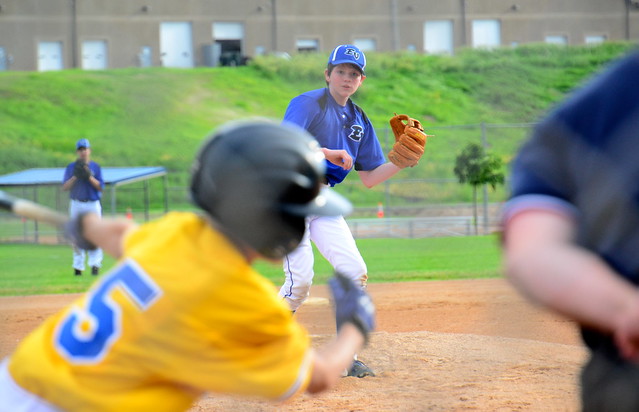
Many times the bleachers are directly behind home plate. This is not an ideal location for photography, but if you want to photograph the pitcher, you can get some unique shots.
Got him to chase one!
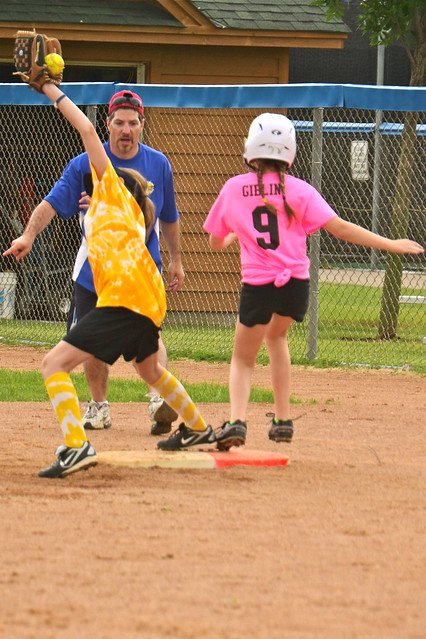
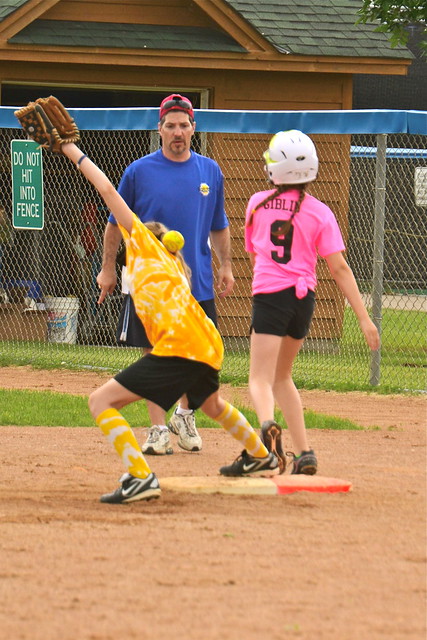
3. Know the game well enough to anticipate the action.
Now you know where to look and where to position yourself in order to be sure you capture some great action. In Part 2 (click here) we will discuss the most important things you need to know to use your camera effectively. You can do this. I promise!




No comments:
Post a Comment